Table of Contents
Advertisement
Quick Links
Advertisement
Table of Contents

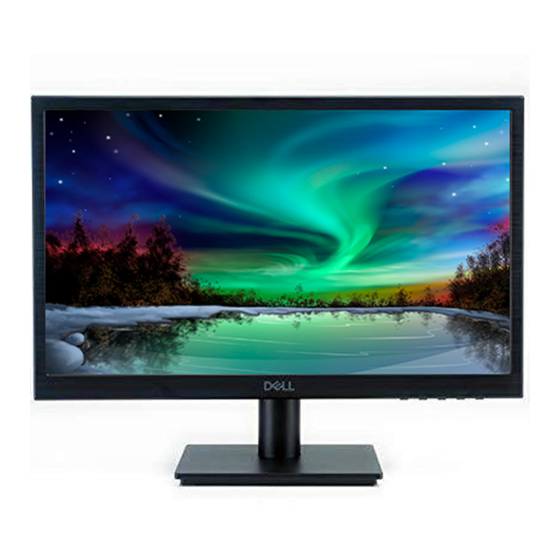
Summary of Contents for Dell D1918H
- Page 1 Dell D1918H User’s Guide Regulatory model: D1918Ho...
- Page 2 This product is protected by U.S. and international copyright and intellectual property laws. Dell and the Dell logo are trademarks of Dell Inc. in the United States and/or other jurisdictions. ™ All other marks and names mentioned herein may be trademarks of their respective companies.
-
Page 3: Table Of Contents
Appendix ..........17 Contacting Dell....... . . 17... -
Page 4: Safety Instructions
WARNING: You should only perform troubleshooting and repairs as authorized or directed by the Dell technical assistance team. Damage due to servicing that is not authorized by Dell is not covered by your warranty. WARNING: To avoid electric shock, do not attempt to remove any cover or touch the inside of the monitor. -
Page 5: About Your Monitor
About your monitor Package contents Your monitor ships with the components shown below. Make sure that you have received all the components and contact Dell if something is missing. Monitor Neck Base Power cable (varies by country) HDMI cable (Support up to 1080p @ 60Hz) VGA cable •... -
Page 6: Technical Specifications
Operating: 0°C ~ + 40°C Temperature Storage: -20°C ~ + 60°C Compliance Energy Star, TÜV Low Blue Light (Dell ComfortView)* Power Input Voltage AC100-240 V * Optimize eye comfort with a flicker-free screen. * The possible long-term effects of blue light emission from the monitor may cause damage to the eyes, including eye fatigue or digital eye strain. -
Page 7: Power Management Modes
* ComfortView feature is designed to reduce the amount of blue light emitted from the monitor to optimize eye comfort. NOTE: For information on the refresh rate (vertical frequency) of the graphics card, see the documentation that shipped with the graphics card. Power Management Modes If you have VESA’s DPM-compliant video card or software installed in your PC, the monitor can automatically reduce its power consumption when not in use. -
Page 8: Supported Resolutions And Refresh Rates
Supported resolutions and refresh rates WARNING: Do not set the graphics card on your computer to exceed these maximum refresh rates. Doing so may result in permanent damage to your monitor. 720 x 400 @ 70Hz 640 x 480 @ 60Hz VESA 640 x 480 @ 75Hz VESA... -
Page 9: Setting Up The Monitor
Setting Up the Monitor Attaching the stand 1. Place the monitor face down on a flat and clean surface. 2. Insert stand riser and base into the monitor as shown above. Removing the stand Release button 1. Place the monitor face down on a flat and clean surface. 2. -
Page 10: Connecting Your Monitor
Connecting Your Monitor 1. Connect the video cable Ensure both monitor and computer are turned off. Connect one end of the HDMI or VGA cable to the computer, and then connect the other end to the respective port on the monitor. 2. -
Page 11: Parts And Controls
Parts and controls Front view Back view Input Select/ Exit from AUTO LED Indicator OSD Menu Scroll Down/ Decrease/ HDMI input (HDMI 19 ◄ Contrast/Brightness Menu pin) Scroll Up/ Increase/ ► VGA input (D-Sub 15 pin) Color Vision Mode select OSD Menu On/Off / MENU Earphone Jack... -
Page 12: Using On Screen Display (Osd) Functions
Using On Screen Display (OSD) Functions Your monitor’s settings are adjusted with the following buttons: Button Function Display main menu MENU Confirm Selection Manual adjust mode select for VGA, HDMI mode AUTO Exit from main menu or return to previous menu Select the desired item when in OSD menu ►... - Page 13 Menu item Description Adjust the Horizontal Position, Vertical Position, Phase (Fine Tune) and Clock (H. Size) of the Auto Image Adjust screen. NOTE: Only available for VGA input. Adjust the Contrast, Brightness, DCR and ECO of Contrast/Brightness screen image. • Contrast Adjust the foreground white level of screen image.
- Page 14 Menu item Description Manual Image Manually adjust H. / V. Position, Clock, Fine Tune, Adjust Sharpness, Aspect Ratio and Color Vision Mode. Adjust the horizontal and vertical position of the video. • H. Position: ►: move screen to the right, ◄: •...
- Page 15 Menu item Description • take regular and frequent breaks for 20 min- utes every two hours. • look away from your monitor and gaze at a distant object at 20 feet away for at least 20 seconds during the breaks. •...
-
Page 16: Maintenance Guidelines
Maintenance guidelines Care • Avoid exposing your monitor directly to sunlight or other heat source. Place your monitor away from the sun to reduce glare. • Place your monitor in a well-ventilated area. • Do not place any heavy objects on top of your monitor. •... -
Page 17: Appendix
Appendix Contacting Dell To contact Dell for sales, technical support, or customer service issues, see www.dell.com/contactdell. NOTE: Availability varies by country and product, and some services may not be available in your country. NOTE: If you do not have an active internet connection, you can find contact information on your purchase invoice, packing slip, bill, or Dell product catalog.


